Git
Compare Two different Git Branches in Visual Studio Code
- Last updated Apr 25, 2024
Comparing two Git branches is crucial during code reviews to ensure adherence to standards, resolving conflicts before merges, verifying release branch compatibility, preventing regressions in feature branches, and ensuring a clean branch cleanup process by avoiding oversight of critical changes. In this tutorial, you will learn how to compare file changes in two different Git branches using the GitLens extension. GitLens is a powerful open-source extension for Visual Studio Code.
Here are the steps to compare two different Git branches in Visual Studio Code GitLens is a powerful open-source extension for Visual Studio Code.:
Install GitLens Extension
Launch Visual Studio Code on your computer, and navigate to the Extensions view either by clicking the icon in the Activity Bar or using the keyboard shortcut (Ctrl + Shift + X for Windows/Linux, Cmd + Shift + X for Mac). In the Extensions view, enter "gitlens" in the search bar. Once you've located the extension "GitLens — Git supercharged" by GitKraken, click on it to view more details. Click the Install button. After the installation is complete, you may require you to reload or restart Visual Studio Code for changes to take effect. If prompted, click the Reload button or restart VS Code manually. Confirm the installation by checking the Extensions view, where you should see the installed extension listed among your extensions.
Use GitLens
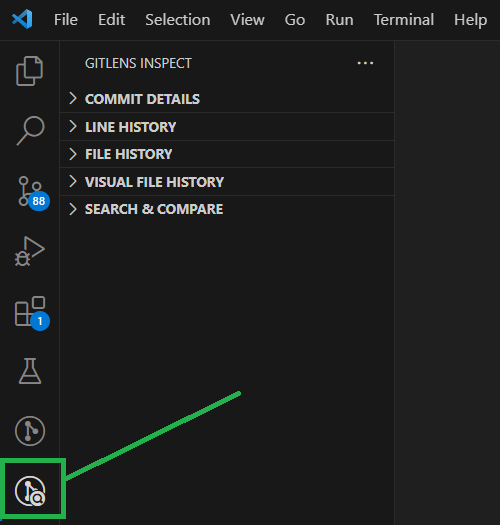
- Click on the GitLens icon in the Activity Bar on the side to open the GitLens sidebar:
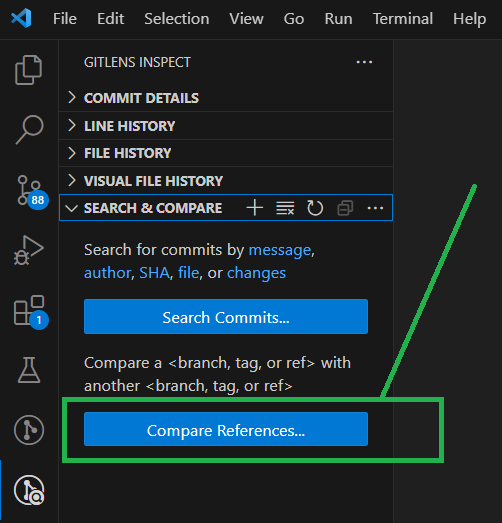
- Click on SEARCH & COMPARE:
- Click on Compare References:
- Select your project repository.
- Select the branch you want to compare.
- Select the other branch you want to compare with.
- Click the file to compare the changes of two selected branches.